Monday, 7 December 2015

How To: Get Glitter Roots


There has been a new hair trend taking over Instagram and it’s glitter roots! Not only is it a bit space-age but it’s also a little bit festive with all the sparkles. 
It’s a super easy but super effective look to create that is perfect for nights out, Christmas parties or just to make a bold statement. 
You can either go for a glitter that’s similar to your hair colour if it’s already dyed into a colourful shade, or you can go for contrasting colours. In this tutorial we have gone for a holographic blue against brown hair, so it really stands out. 
I've collaborated with Charlie from the fashion blog Chazabella, she has awesome style and you should definitely check out her blog to find out what she wore to style up this hairstyle!

How to recreate the look

Step 1
Section your hair into a middle parting, even down the back and create a high top bun on each side (just like the classic Miley look). This can be done by pulling the hair up into a high pony tail on each side, twisting the hair around into a bun and then securing this with elastics.
Step 2
Mix clear hair gel and your chosen colour of glitter into a bowl. 
Step 3
Using a brush apply the glitter gel to the roots along the middle parting. Apply more product towards the parting and then brush it out to fade outwards. 
Step 4
Go out and make a statement with your new hair do!

Connect With Me 
Twitter | @Alexandraahowe 
Facebook | Alexandra Elizabeth 
Instagram | @Alexandraahowe
SHARE:

Monday, 23 March 2015

Le Keux Vintage Photoshoot Experience


Whilst I was working in Birmingham over the summer last year I came across this adorable vintage salon at The Custard Factory called Le Keux Vintage Salon, you can get your hair cut, coloured and styled and they also hold hen parties and photo-shoot packages.
My sister was turning 21 in September and really wanted to treat her to something extra special. She's always had a love for pin up girls, especially Marilyn Monroe, so I thought taking her to have a vintage styling experience there would be perfect.
It's normally £99 for a pin up shoot but at the time they were offering 2 for 1 so we went along together. We had such a lovely experience, we had our hair and makeup done and then we got to pick out our outfits from an amazing range of vintage clothes. Then we had our photos taken in all sorts of different sets, from a little cafe, hairdressers, dressing table and a sofa that looks like a cadillac! We really felt like we had stepped back in time!
To top it all off they even have their own range of makeup products and brushes that they use and you can also purchase.
If you have a friend or family member that loves all things vintage, this is the perfect present for them!
SHARE:

Monday, 4 August 2014

My New Hair & Experience at Umberto Giannini Birmingham

On Saturday I had my hair done at Umberto Giannini in Birmingham for the first time, I’ve never been to a fancy hairdressers, I’ve always gone to my local one so I was very excited to change things up a bit.
I’m one of those people who love going to the hairdressers; I enjoy the whole experience, as long as my hair looks good at the end! As I was in love with my hair after this experience at UG I just had to tell you all about it.

Rights given by Umberto Giannini for photos
This UG salon I went to was in Selfridges in the Bullring, that alone made me feel all sophisticated. Prior to the actual cut and colour, I went in a few weeks before to get a skin test and a consultation to make sure I’m not allergic to their dyes and so that they know what kind of style I wanted in advance. I’d recommend taking some photos of what you want so that they can really visualise it instead of them just having to almost guess from a description. I used Pinterest for this as there’s so much hair inspiration on it and it’s so easy to access the images once they’re pinned to a board of yours. I was there for about 15 minutes discussing what I wanted and they were so good at giving advice on how we could achieve it and what they would personally recommend.

Rights given by Umberto Giannini for photos
When I arrived for my cut and colour my hair was so ready for it! As I had recently moved it into a middle parting my layers were all over the place and my ends were so dead!
For the colour I had balayage, which is basically really random highlights to give a lovely sun kissed look. I quite like my natural colour so I didn’t want to completely change it but this just added a bit more texture and brightness to it.
Then after about an hour waiting for that to process we went over to wash my hair. I went to sit down at the sinks and the chair tilted back and lifted your legs up a bit so you were practically lying down whilst having your head massaged and washed, I was so close to falling asleep I was that relaxed!
For the cut I wanted my layers to be sorted out and a bit of the length off, as the ends were so dry they just had to go. He then blow-dried my hair with lots of volumising products in and then curled it in random directions to make it look really textured.


I loved the finished result, throughout the whole appointment he was making sure I was happy with what was going on with my hair and I had lots of confidence in him getting it right. My hair looked so bouncy and healthy, my layers were sorted out and all the dead ends were gone! The colour was perfect, it added texture and brightness to my hair colour without looking streaky or unnatural.
I would love to go again, I don’t think I’ve ever stepped out a salon and loved my hair so much, don’t get me wrong I have loved the finished result at my local hairdressers too but just not as much as this.
Thank you to Dee and the team at Umberto Giannini, I hope to see you again soon!

Before and After

SHARE:

Monday, 22 July 2013

Casual Bright Summer Jewels

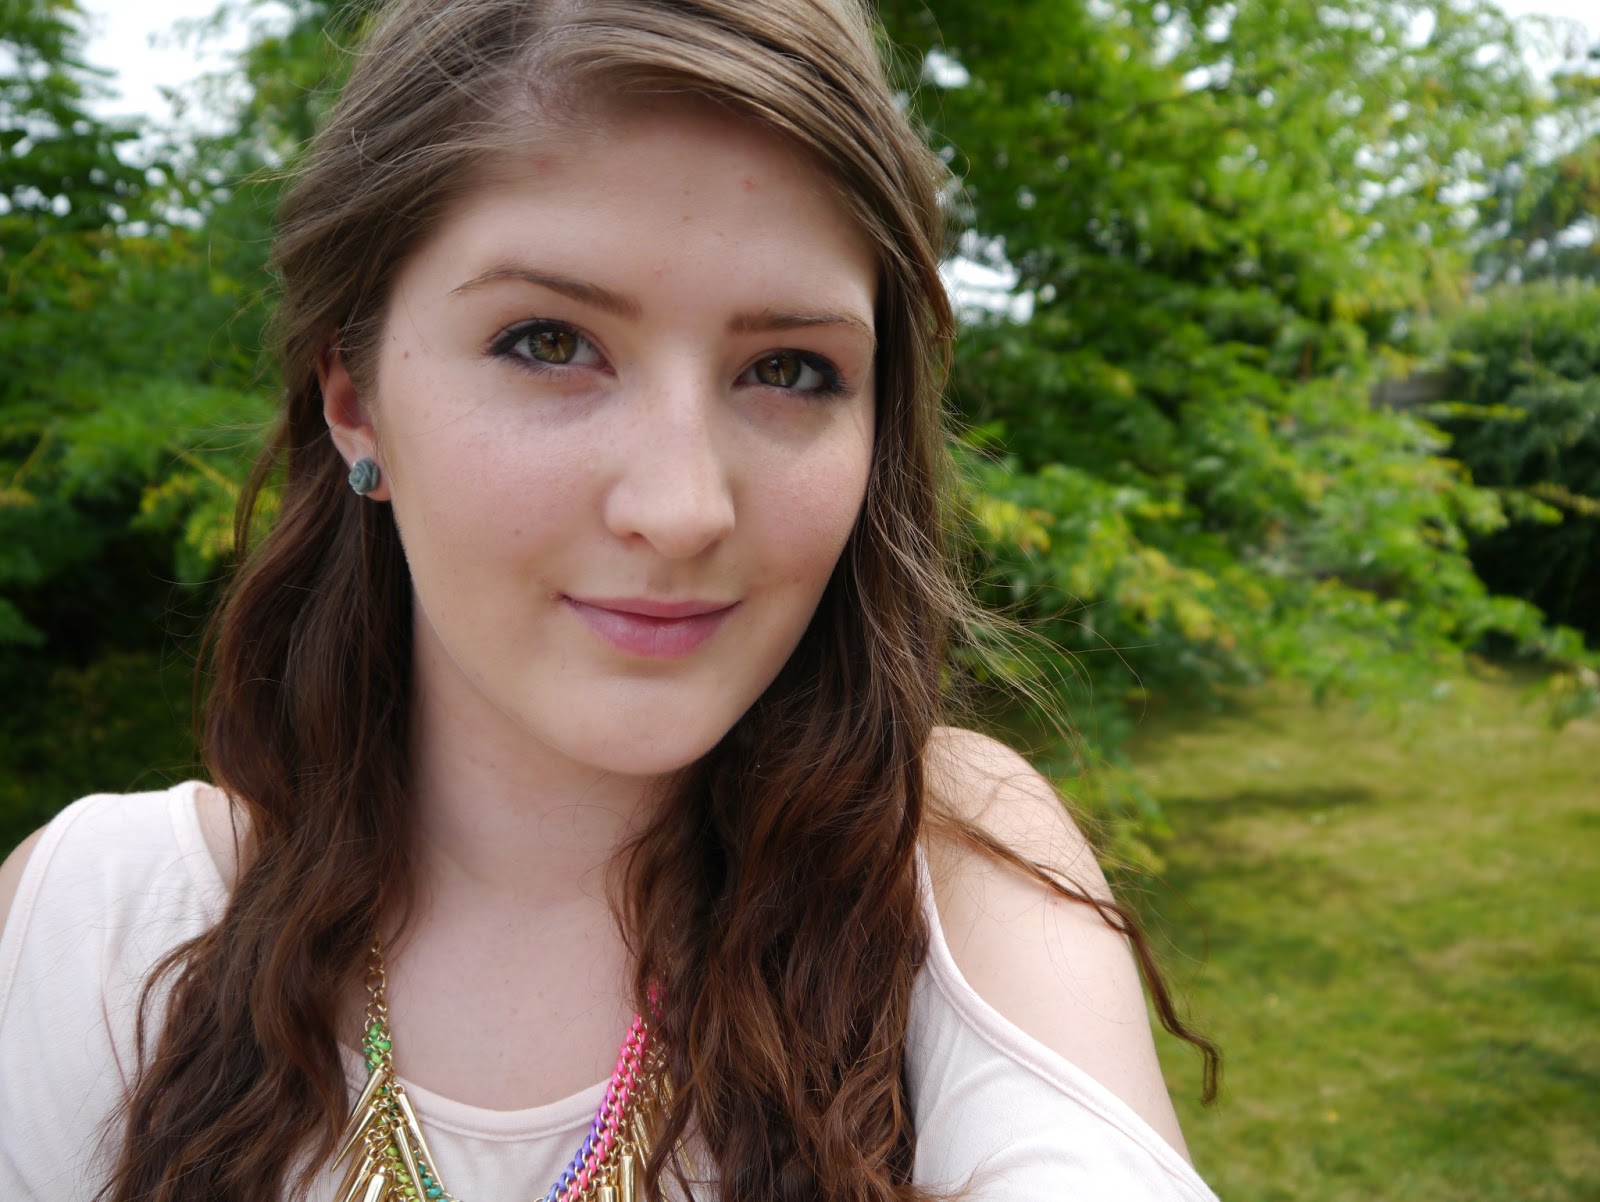
I'm heading off to my boyfriends today but before I leave I thought I'd show you my outfit. It's a pretty simple casual summer outfit, the cutouts on the shoulders are great to keep you cool as it is still quite hot here in the UK to the usual.
I plaited my hair the night before to make my hair wavy and just pinned the top layers back and then for my makeup I kept it quite neutral with black eyeshadow for eyeliner. 

Top - Missguided
Shorts - N/A
Necklace - Primark
Sandals - Oasis at Asos


I hope you liked my outfit and let me know if you would like to see more of these! 
I'm off on holiday next week to Italy so I'm sure I'll have the chance to do lots of nice new OOTD's.
I hope you are all well and enjoying the summer.


SHARE:

Thursday, 16 May 2013

My Hair Over The Years

After several years of dying my hair, I have finally got it very close to all natural and back to a healthy state!
I've done a video talking about the products I have used to help the process which is at the bottom of this post.
So on here I've got pictures of all the different stages my hair has been through.


This is my hair before I had every dyed it, completely natural (apart form it being curled).
May 2010
Here is a picture of the first time I ever dyed my hair, I used a semi-permanent dark brown and then not long after I did the same but with a berry brown coloured dye.

June 2011
After a while the red had slightly stained my hair so I got highlights professionally which really lightened my hair, I did love this and even had it for prom!  


September - December 2011
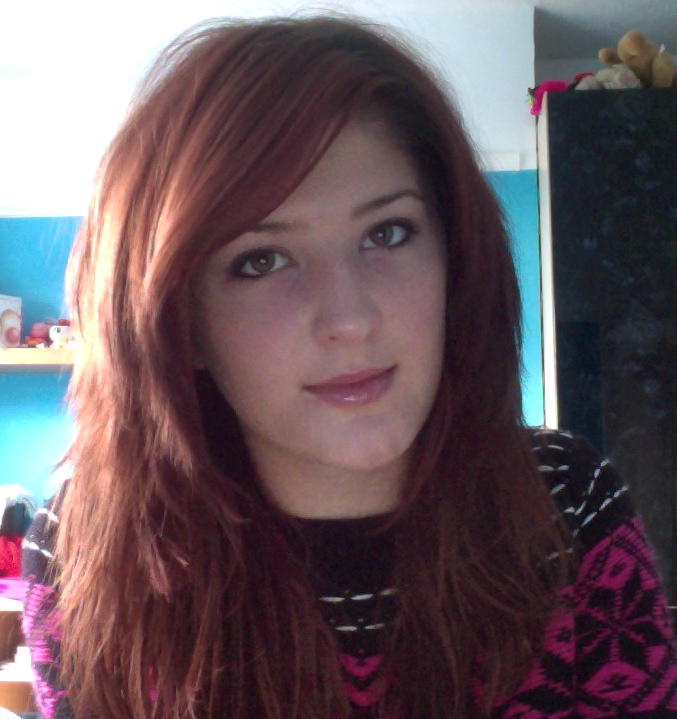
After having relatively natural hair colours for a while I had wanted to go a bit more adventurous, so I went for a permanent bright red. It was so high maintenance, I had to dye it every few weeks or it would fade to an orangey pinky colour.

December 2011
I then let it fade out before I used ColourB4 to strip the red from my hair which left me with a nasty brassy colour with patches of blonde! I then used a semi-permanent brown similar to my natural colour to hide this. 

February 2012
Not long later I booked an appointment to get my hair permanently dyed to my natural colour, but ended up going a dark brown as my hair took the dye too well!

                                            
May 2012
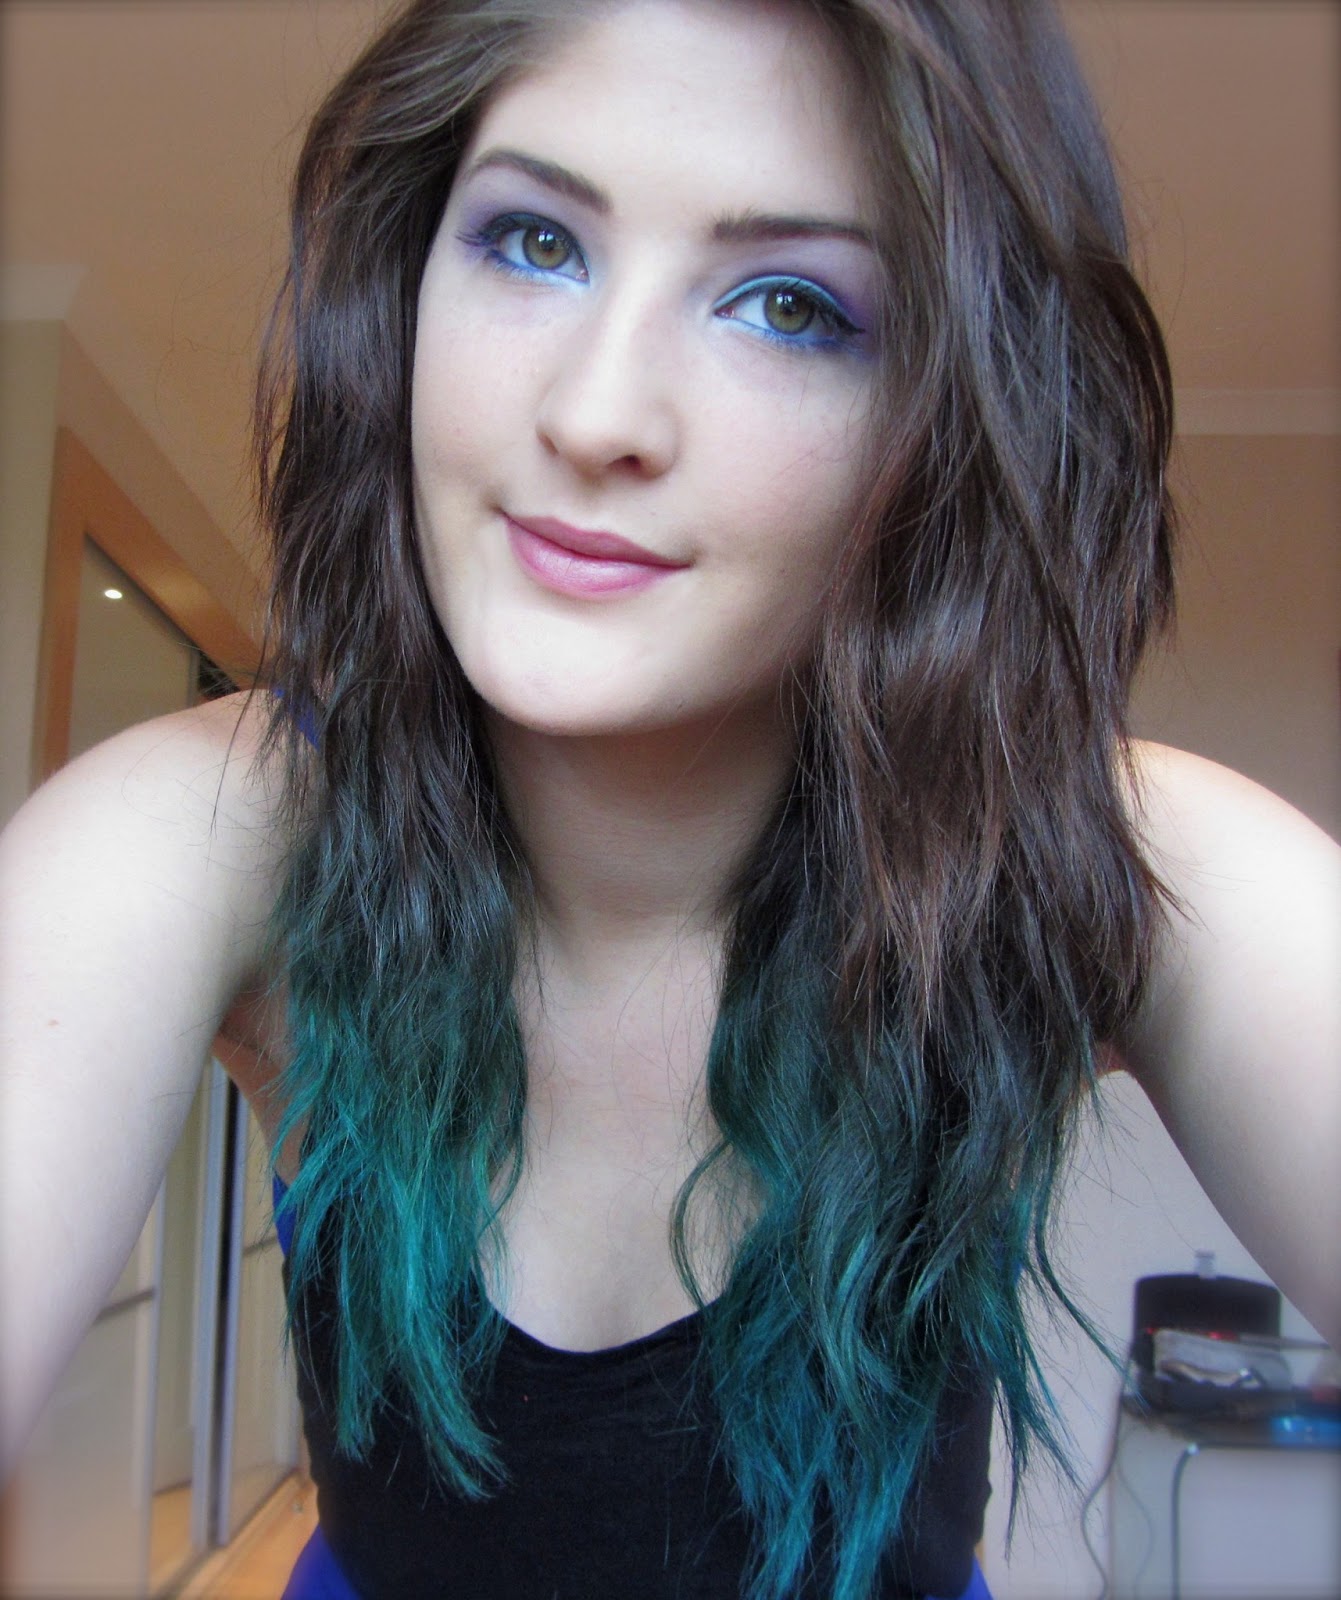
The dip dye trend appeared and I loved it! So what did I do? I went ahead and did it with bleach and to top it off I added turquoise to it. I wish I could have kept this forever, but school didn't approve and it damaged my hair pretty badly.

July 2012 till now
 After so long of dying my hair, I finished off all my dying with a brown similar to my natural colour all over so my roots and ends were the same colour. 
Since then I haven't dyed my hair and it is all almost natural as I've just continued to get it cut every 7ish weeks and been using plenty of hair nourishing products. There is now just the smallest amount of the dark brown left on the ends which will hopefully all cut off by the end of this summer.

If you want to know the products I used to get my hair back into a natural healthy state, and also products I used to disguise the damage until it had gone please check out my youtube video below.


SHARE:
© Alexandra Elizabeth | All rights reserved.
Blogger Templates by pipdig